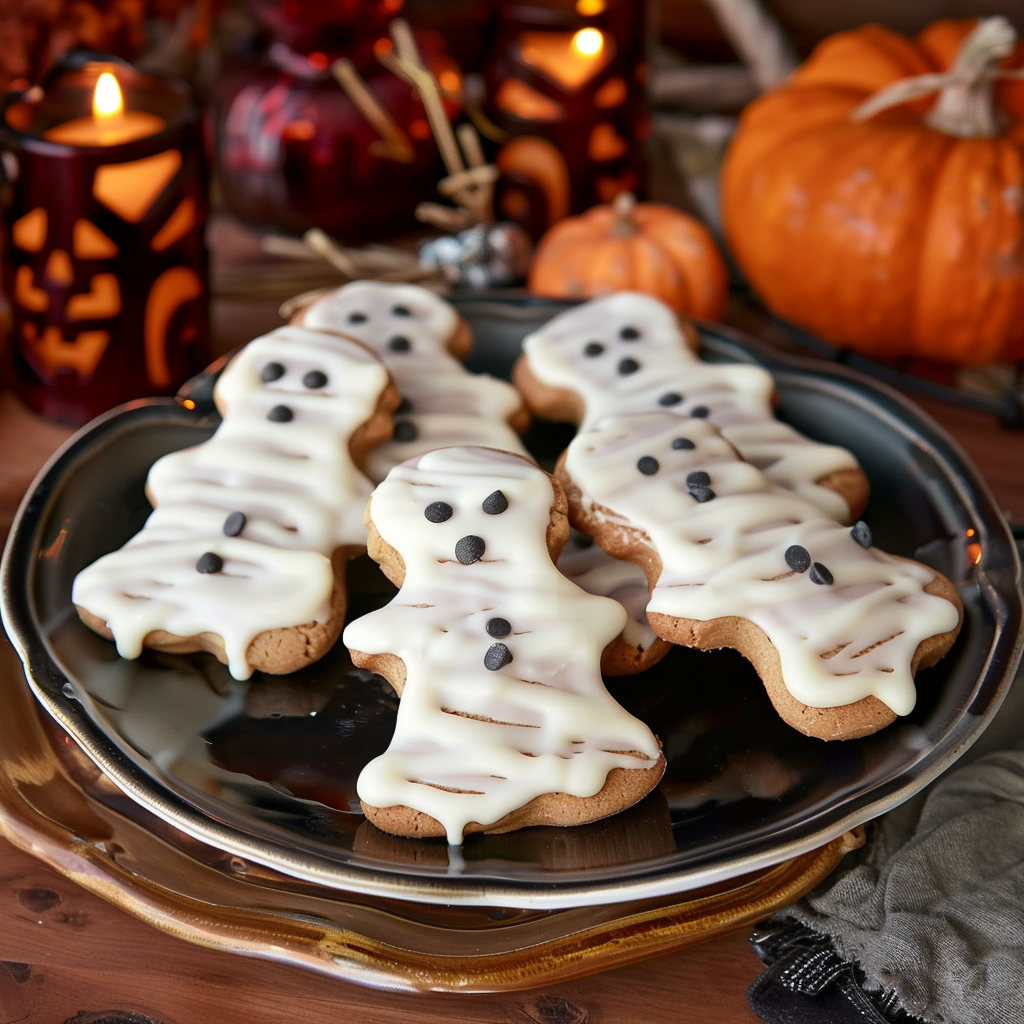
Here’s a recipe that feels like a warm hug in cookie form—Nutty Ghosts. With their peanut butter essence, white chocolate “ghost coats,” and little chocolate chip faces, these spook-cute treats bring cozy nostalgia straight from your pantry to your heart. Ideal for making with family, these ghosts are fun, fuss-free, and bursting with sweet charm—perfect for beginner cooks and Halloween memories alike.

Recipe Info
| Field | Info |
|---|---|
| Category | Dessert / Halloween Snack |
| Prep Time | 10 minutes |
| Cook Time | 0 minutes (no-bake) |
| Servings | 12–15 ghost cookies |
| Calories | ~130 kcal per serving |
Ingredients You’ll Need
- 12–15 Nutter Butter cookies (or similar peanut-butter sandwich cookies)
- 8 ounces white chocolate or white candy melts
- Mini semi-sweet chocolate chips (for eyes and a mouth)
Step-By-Step Instructions
- Prep your workspace. Line a baking sheet with parchment or wax paper to catch drips and make clean-up easy.
- Melt the white chocolate. Place the white chocolate or candy melts in a heat-safe bowl and microwave in 30-second bursts, stirring gently in between, until silky smooth. (Tip: don’t overheat—stop once small bits remain—they’ll melt as you stir.)
- Coat the cookies. Holding a cookie by one end, spoon or dip the top two-thirds into the melted chocolate. Let some chocolate drip down to create that ghost-sheet effect. Place on the lined sheet.
- Add the faces. While the chocolate is still soft, gently press two mini chips for eyes (and optionally a third for a spooky smile).
- Let them set. Allow the ghosts to cool at room temperature until the coating is firm—about 10 minutes. (Or pop them in the fridge for a quicker set.)
Cooking Tip: Work quickly when dipping so the chocolate stays fluid and forgiving—it makes decorating so much easier!
Helpful Notes & Tips
- Melting smooth: If your white chocolate seems too thick, stir in a tiny bit of vegetable oil to loosen it.
- Storage: Keep your ghost cookies in an airtight container at room temperature for 2–3 days. In a warm kitchen, refrigerate to keep the chocolate from softening.
- Freezing? You can freeze them in a single layer in your freezer for up to a month. Thaw in the fridge for the best texture.
- Kid-friendly seating: Let children press on the chocolate chips for the faces—it’s a fun, hands-on activity!
Recipe Variations
- Swap the cookie base: Try chocolate sandwich cookies for a dark-and-ghostly twist.
- Change the coating: Use dark or milk chocolate for a rich, less sweet ghost—or tinted candy melts (orange or green) for playful color variations.
- Dairy-free option: Use dairy-free white chocolate or melting wafers to keep these ghosts vegan-friendly.
Serving Suggestions
- Plate your Nutty Ghosts with Pumpkin Spice Hot Cider for an autumn match made in ghost heaven.
- Surround them with mini pumpkins, candy corn, or spooky confetti for a festive table.
- Serve alongside witch’s broomstick pretzels or a marshmallow mummy dip for a full Halloween spread.
Conclusion
There’s something truly magical about sharing a simple, sweet snack with those you love. Cozy up with your homemade Nutty Ghosts—whether you’re wrapping them in parchment for a little one, or pairing them with a hot drink by candlelight. May this recipe bring smiles, memories, and a touch of spook-sweet comfort to your Halloween and beyond.
